
How To Draft A Basic Conical Block (Torso Only)
 This tutorial shows how to create a conical corset block for the center of the torso. It does not include shoulder straps. This block is the basis of all conical corset and stay patterns that I draft. It is not, in and of itself, a working pattern. It shows one solid half of the torso (center front to center back), and has no seam allowances. This method of making a basic block will work for most body types, with the notable exception of cases where the finished waist measurement is greater than the wearer’s natural modified bust measurement (the modified bust measurement will be explained shortly).
Some basic math skills are required. You must be able to add, subtract, multiply, and divide. There is no getting around it short of creating complex shortcut charts which I have no interest in creating. If you have a basic calculator and can follow the directions to create your measurement chart, you should be fine even if you are math-phobic.
Some basic variations of the block shape will be given at the end of the tutorial. This block does not include a high back or shoulder straps. Those details will be illustrated in a separate tutorial, but should be included in the basic block when desired in the final pattern.
Needed Tools
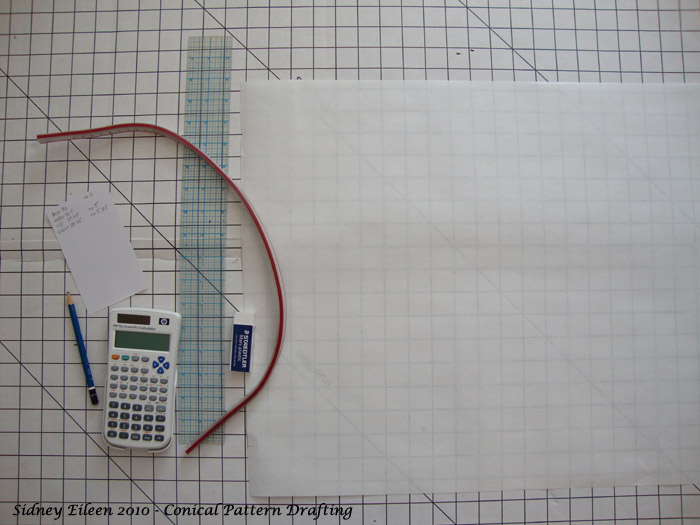
I do not have computer programs for pattern drafting, so I do all my drafting the old-fashioned way, by hand. Fancy tools are not necessary. You will need some sort of large paper or pattern drafting paper (it might be hard to find, but very cool, as it has the inches or centimeters marked on it already). I use a roll of butcher paper on a large cardboard cutting board. You need a pencil, eraser, ruler (I like clear “quilting” rulers), flexible ruler (available at some art stores and college/engineering supply bookstores), a basic calculator, scratch paper, and the measurements of the person being fitted for the block.
Needed Measurements
Measurement instructions can be found on my Measurements page, under “Standard Measurements”.
The needed circumference measurements are the Bust, Underbust, and Natural Waist. You also need the vertical distances from the underbust to the bust, and the underbust to the natural waist. I am making this block from my own measurements. In the image below, the unaltered measurements are to the left. The distances are on the right (with the “to” in front of them).
The “Mod” column shows the modified measurements. For the waist I am drafting for a reduction of 3”, so the modified waist measurement is 29.25-3=26.25. The bust modifier is based on the bust measurement minus the underbust measurement, and then divided by 6. That is, (36-30.5)/6=0.91. Written another way, that is 36-30.5=5.5 and 5.5/6=.091. .091” is an awkward number to work with, so I round it up to 1” for the modifier. Round to the nearest ¼” if you are working in inches, or the nearest .5 centimeter if you are working in metric.
The ½ column shows ½ the underbust measurement and ½ the modified waist measurement (the circumference of half the torso). The ¼ column shows ¼ the underbust measurement and ¼ the modified waist measurement (approximately the circumference of the back quarter of the torso).
If you are markedly asymmetrical, you will need to take additional measurements, rather than approximating using math. I would recommend making a separate chart for each half of your body. Use measurements taken on each half (or each quarter if needed) of the body separately. Be sure to take circumference measurements for your entire torso to check the accuracy of your half measurements. Both halves should add up to the whole measurements. When the working measurements are half circumference, the bust modifier is based on a division of 3 (rather than 6).

Making the Basic Block
Start by making a long vertical line that will sit at the underarm. This is your centerline. Use the vertical distance measurements to mark the locations of the bust, underbust, and waist.
Mark the top edge of the corset at the underarm relative to the bust height. Usually ½” works well. If the wearer has a particularly short torso (roughly 6” or less total distance from the bust to the natural waist), the top of the underarm can be as low as the bust mark. If the wearer has a particularly long torso, it can be placed higher without causing discomfort at the underarm. If you wish, you can take an additional vertical measurement for the highest comfortable underarm location, and use that direct measurement instead of approximating.

Mark horizontally at the bust height. Width does not matter at this stage, as long as it extends past the final width dimensions of the block.
Use the ¼ column underbust measurement. Measure towards the back from the centerline at the underbust height and make a mark.

Use the ¼ column waist measurement. Measure towards the back from the centerline at the waist height and make a mark.
Draw a line between and extending beyond the two new marks. This is the approximate back side of the block.
Draw a line horizontally at the waist height.

Mark the waistline at ½ the distance from the centerline and the back edge.
Square the ruler on the back edge so it goes through the above mark. Draw a line.

Use the flexible ruler to create an arch along the bent waistline. Verify that the distance is nearly identical to the ¼ waist measurement. If the back side line is on a steep slant, you may need to re-mark the ¼ waist measurement along the curved line and re-draw the back side.

On the back side, start at the curved waistline and re-measure the underbust and bust heights. Mark them.

Create a curved underbust line from the new underbust mark at the back side. Verify the length of the curve relative to the ¼ underbust measurement. Adjust it if needed.

Continue Reading ->
One thought on “How To Draft A Basic Conical Block (Torso Only)”